5 Frequently Asked Questions About Alcohol Ink
For my first blog post, I thought I would provide answers to 5 of the most frequently asked questions I get asked about alcohol ink.
This post will cover the basics such as what alcohol inks are and what makes them unique, and will give you an idea of how to get started using this exciting medium. I’ve also included some product recommendations, links to where you can purchase supplies, ideas of surfaces you could try painting on, and how to seal your beautiful art for a lifetime of vibrant colour.
I hope you find it helpful!
Products I use on Amazon:
Many of the supplies I use for alcohol ink, resin, and abstract art can be found on my Amazon Affiliates Shop Page. I would be grateful if you decide to try alcohol inks after reading my blog that you consider ordering using my link. Many Thanks!
1. So firstly, I’m often simply asked; “what is alcohol ink?”
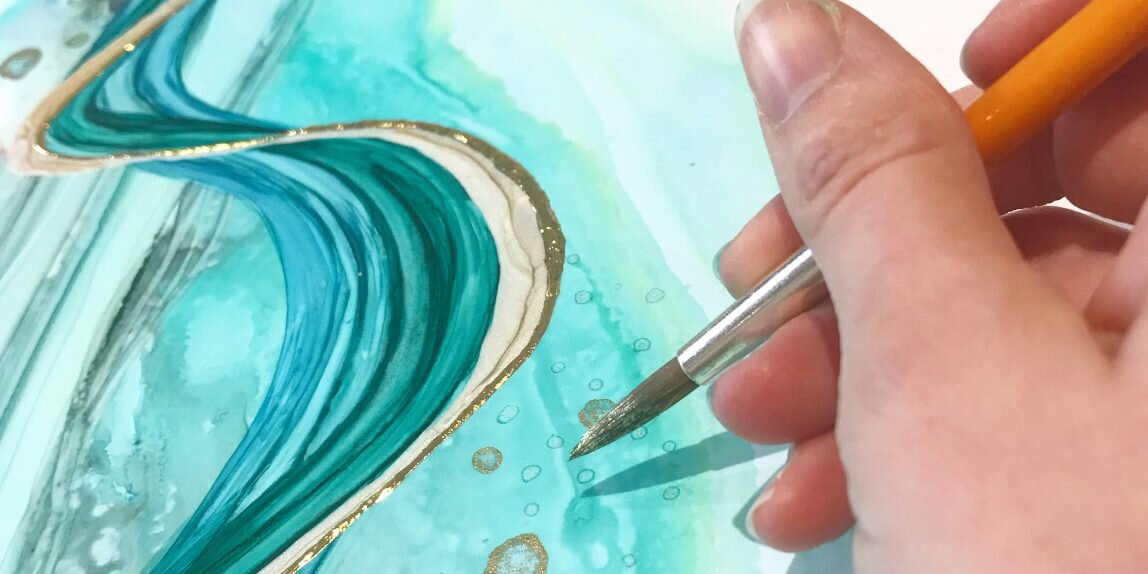
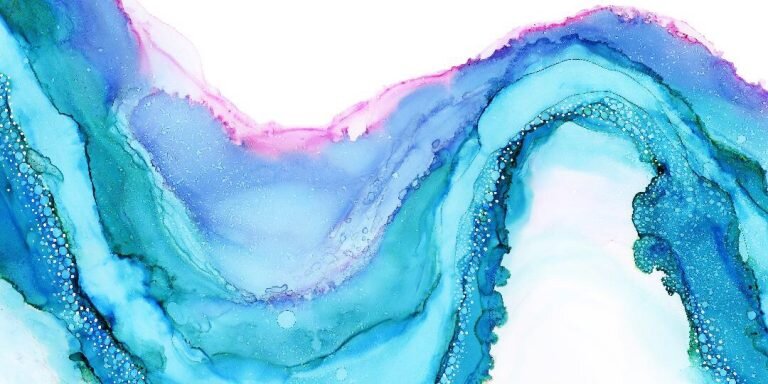
Alcohol inks are an exciting medium which is quickly becoming popular worldwide – although has only fairly recently become more accessible in the UK. They are fast-drying, highly pigmented, alcohol-based inks. Alcohol inks come in many colours and can be diluted to create a vast range of colour tones, textures, and effects. There are various methods of applying alcohol ink, for example they can be poured and dropped onto the painting surface – so they fall into the category of fluid art.
Learning ways of using inks can be such a fascinating process. I’ve enjoyed exploring ways to control and ‘tame’ them, as well as accepting when to just ‘go with the flow’. Applying the inks creates mesmerising effects, meaning painting using alcohol inks can be relaxing and therapeutic, as well as providing gorgeous and wide-ranging results!
‘Crash of the Sea’ alcohol ink painting. I’ve had this painting turned into a luxury silk scarf – click on the image to see the scarf in my shop
2. How do you create the effects in alcohol inks?
There are lots of ways of creating interesting effects in alcohol inks, but I’d say the two main ways are:
1. Mixing isopropyl alcohol with the inks.
There are many different ways of doing this. You can dilute the inks with isopropyl and put this into a pipette, then squeeze the pipette onto the paper and add different colours. This will allow the colours to blend and interact and will create fascinating results.
Another way of creating beautiful detailing to your alcohol ink work is to drop, brush or spray isopropyl alcohol onto your alcohol ink base layer. You’ll get different results depending on whether your base layer is still wet or has dried. Applying isopropyl to a dried ink background will usually create more pronounced markings than adding alcohol to a still wet background – but both techniques are fun to try and add interest to your painting! Make sure your isopropyl alcohol is a high percentage – I use 99% alcohol from Amazon – there is a link to the products I use at the end of this blog.
Isopropyl alcohol bottle
2. Using different methods of drying alcohol inks.
There are various ways of drying alcohol ink and each create their own unique range of marks and textures. My personal favourite is simply to use my breath! My most commonly used way of drying the inks is to use a straw (or a pipette with the end cut off). I enjoy being up close with my work and watching the effects emerge as I blow the inks across the surface. It adds to my experience of mindfulness while creating to be so immersed in the process, and the added aspect of focusing on my breathing also contributes to this. Using a straw can create detailed but sometimes unpredictable marks, and I love the element of surprise and variety this allows.
Using an air compressor would be another way to do this if you didn’t want to use your breath. (Inhaling alcohol ink fumes can be damaging to health; using an air compressor would allow you to wear a respirator mask while working. Personally I keep my work space well-ventilated and try to stick to short painting periods).
A hairdryer or heat gun is another way of drying inks and creating beautiful effects. The dryer or heat gun can be used to dry the inks quickly, while creating billowing effects or gorgeous ripples in the inks. This isn’t a technique I’ve explored often as yet but definitely plan to do more of in the future!
Click the image to see this video on my Instagram page showing alcohol being added to a wet alcohol ink background, to create a flowing effect
Click on the image below if you would like to see a process video on my Instagram page of alcohol inks being blown around with a straw to create an ocean-inspired piece:
3. What surfaces can you paint on using alcohol inks?
Alcohol inks tend to work best on any non-porous surface because this allows the ink to flow freely. The most commonly used surface for painting with alcohol inks is yupo paper. I use the Legion Paper brand because I think it’s excellent quality.
You can also paint on surfaces like glass or ceramic – click on the image below to see a video of my process of painting ceramic tiles which I make into beautiful coaster sets available for sale here in my online shop.
Although personally I prefer using inks on non-porous surfaces, they can also be used on surfaces such as canvases, as many alcohol ink artists do. Painting on canvas creates a whole different effect and look from the inks. I’d recommend experimenting with different surfaces and seeing what you prefer – the variety of effects are endless and provide lots of opportunity for creative exploration!
Beautiful effects of alcohol inks on a ceramic trinket dish, finished with a shiny coat of resin.
Available for sale in my shop
4. How do you seal your alcohol ink paintings?
This stage is important if you want to prolong the life of your art. Left unsealed, the vibrancy of the inks will fade over time. Although I would recommend all original art is kept behind glass and out of direct sunlight in order preserve the original colours, sealing your work provides much needed protection from being handled and from UV rays over time. There are 2 steps to protecting alcohol ink art:
1. Krylon Kamar Varnish
I seal my work with at least 2 coats of Krylon varnish. This is an important step because if you go on to do the next step without having adequately sealed your work, the UV spray can reactivate the inks and create unwanted spray marks in your painting.
2. Krylon UV Spray
When the varnish has dried, I use at least one coat of UV spray – although often more than one because I want to be doubly sure my work is protected from sunlight! (not that we get much here in Scotland lol)
Both of these products can be hard to purchase in the UK. I have ordered from Amazon or Ebay and often have to get them shipped from overseas.
5. What type of inks do you use and where do you buy them?
There are many different alcohol ink brands available. I’ve tried Ranger, Jacquard Products Pinata inks, Copic Refills, and Spectrum Noir. Each have their own advantages and slight differences. My personal favourite is Ranger ink because I love the colour undertones you often get from these inks. They produce a beautiful variety of colour often from just one ink colour when you add isopropyl alcohol.
Alcohol inks are only just becoming more readily available to buy in the UK. I’m delighted Jackson’s Art are now stockists of the vibrant Jacquard Pinata inks. Their gold mixative is simply the best!
I’m an affiliate of Jackson’s Art. If you click here you can get 10% off your first order with them when you open an account (send me an email if you have any problems using this and I’ll try and help!)
Thanks for reading my first ever blog post! I hope it was helpful and has given you some starter points for trying alcohol inks. If you read this post and feel inspired to use inks for the first time I’d love to see what you create – tag me in your post on Instagram!
Products I use on Amazon:
Many of the supplies I use for alcohol ink, resin, and abstract art can be found on my Amazon Affiliates Shop Page. I would be grateful if you decide to try alcohol inks after reading my blog that you consider ordering using my link. Many Thanks!
Like this blog? Please share it!
This blog was intended as a basic guide to get started using inks. Future posts will provide more in-depth descriptions about my process and technique. Sign up below to my monthly mailing list to be the first to know when new blog posts are published!


